Buttons are how groups communicate within QuickCall 4.
The system allows for a vast range of different configurations and can be tailored for just about any requirement.
All buttons need a few basic elements.
This is how to setup a basic button.
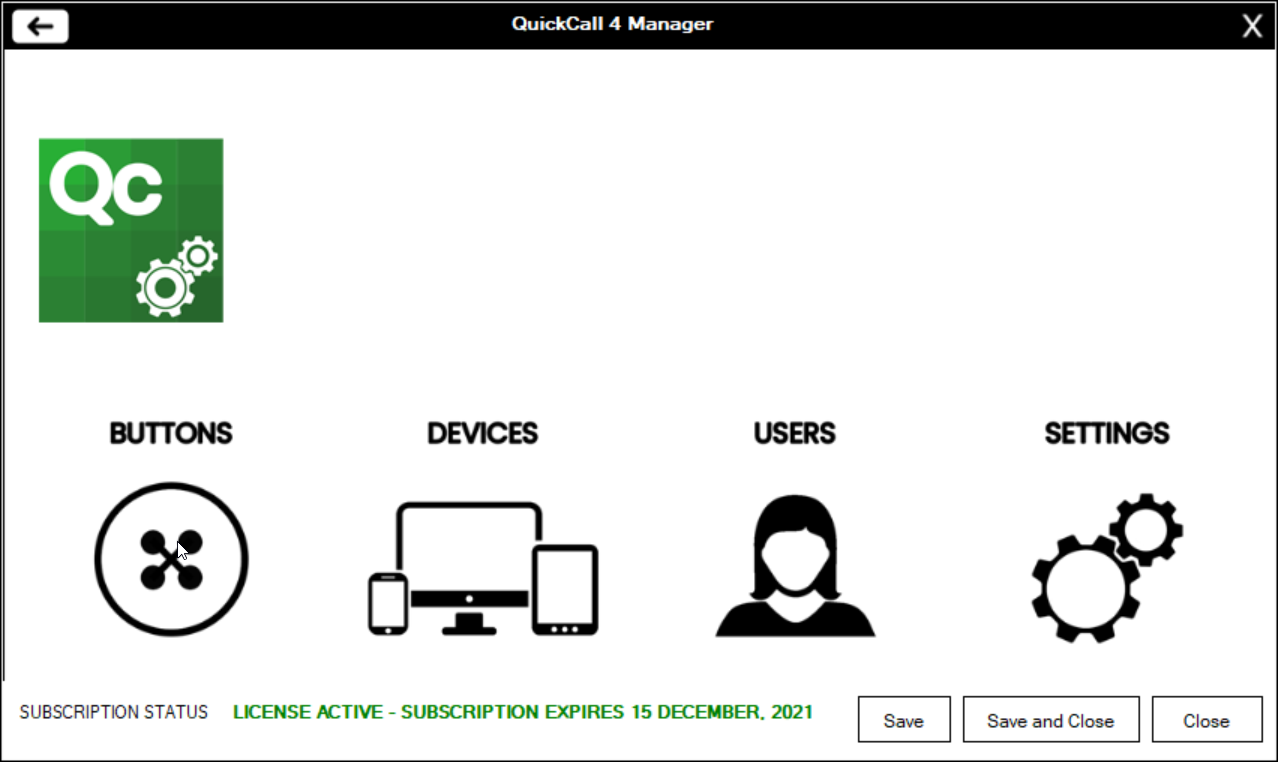
Step 1Log in to the QuickCall 4 Manager and click on the Buttons icon. |
 |
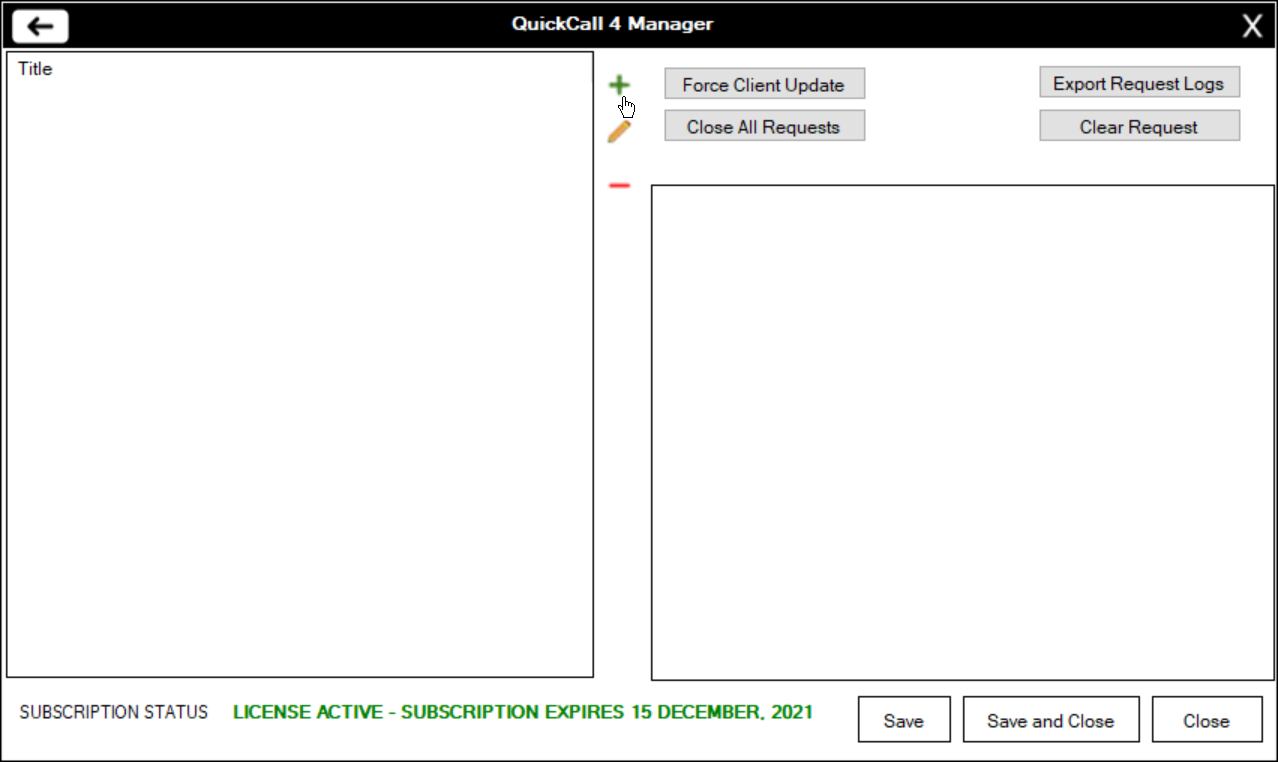
Step 2To the right of the first panel click on the + button to open the button settings page.
|
 |
Step 3Give the button a title. In this example we are going to create a behaviour support request button, so enter the title Behaviour Support Request |
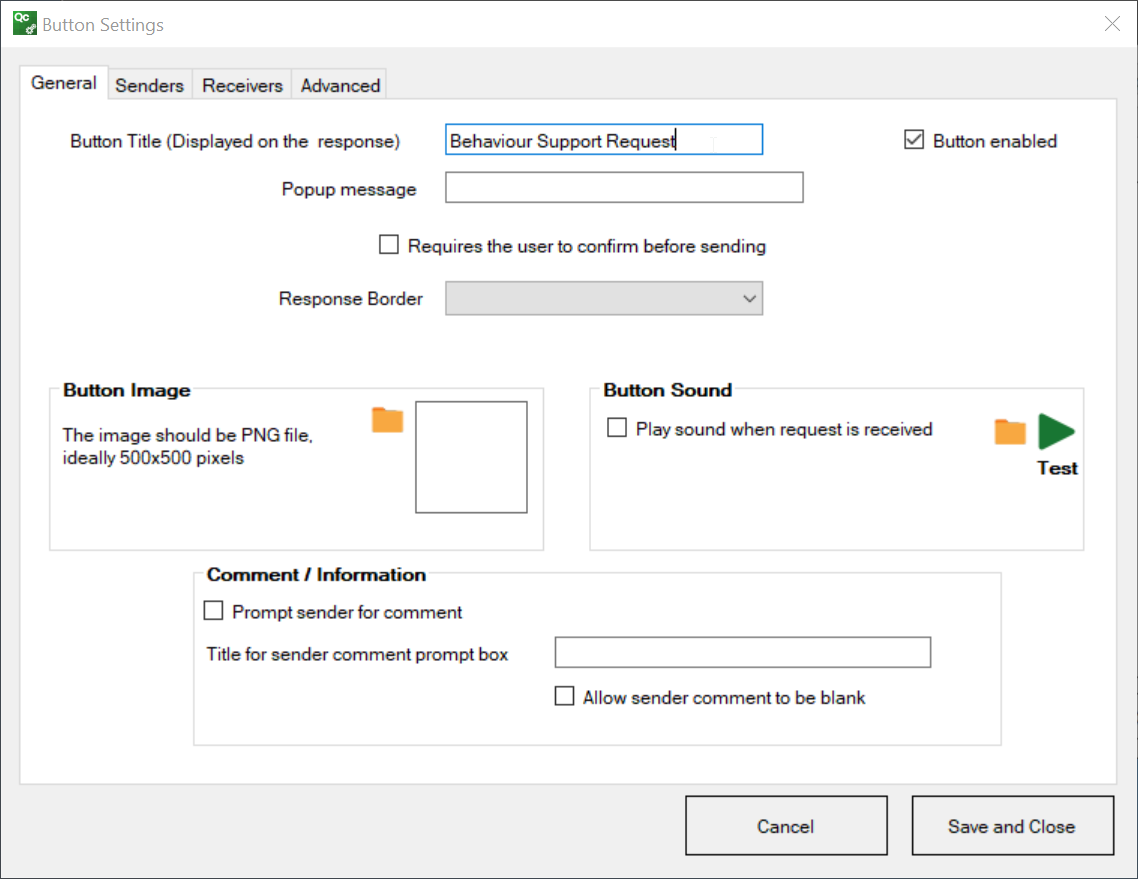 |
Step 4Enter the text that will be displayed to the user recieving the message in the Popup message box in this example we will enter Behaviour Support Needed as the message |
 |
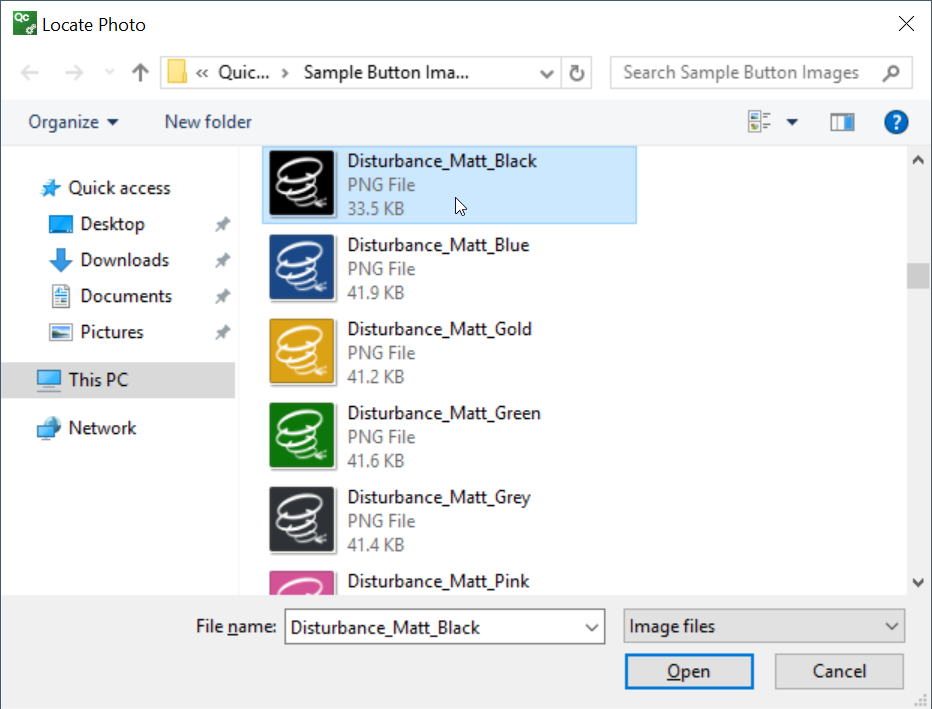
Step 5Click on the folder symbol in the Button Image section and load the image the button will. QuickCall 4 installs a set of 250+ icons for use with your buttons, these can be found in C:\Program Files (x86)\GreenGate Software Solutions\QuickCall 4\Sample Button Images In this example we are going to use the Disturbance_Matt_Black.png icon Select the file and click Open
|
 |
Step 6Click on the Senders tab and click on Add Group
|
|
Step 7In this example all the teachers are going to be able to send a behaviour support request. Type Te in the search box and Teachers group will appear in the results box beneath, click on this and click Add |
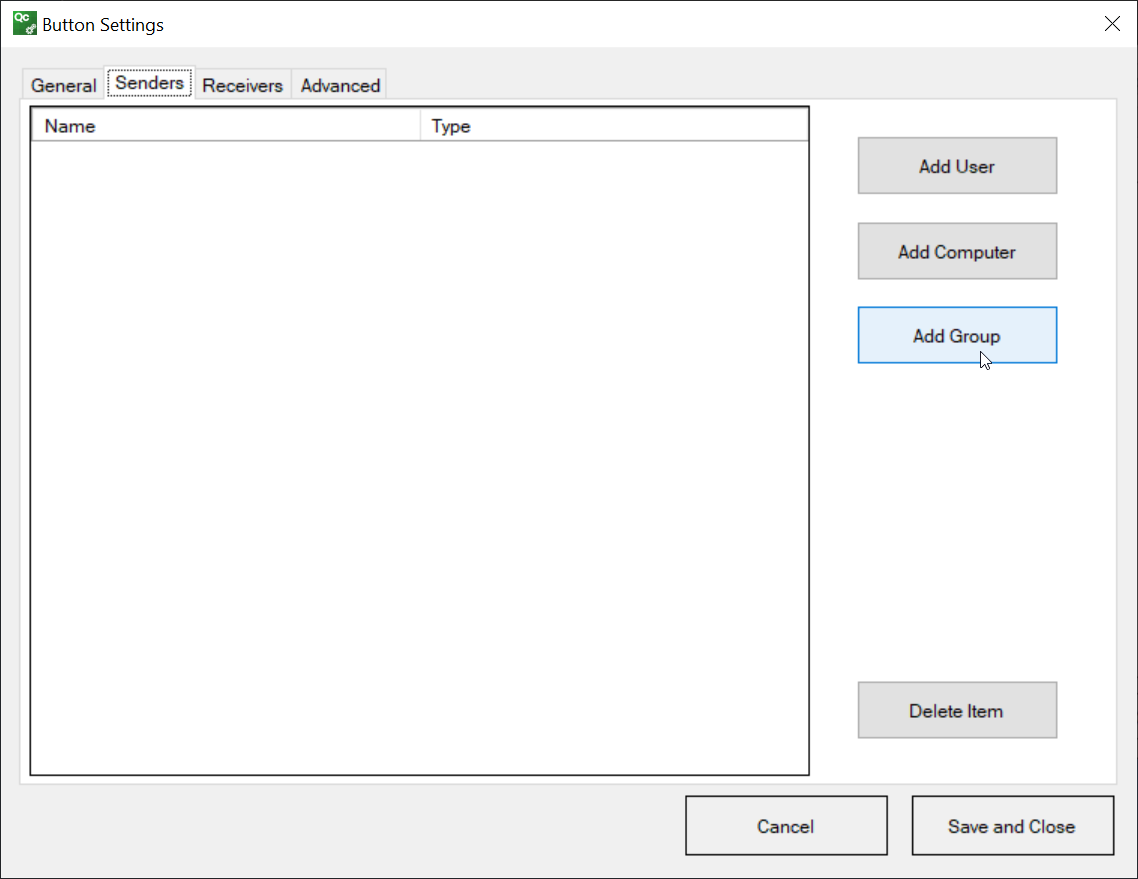 |
Step 8Click on the Receivers tab and click Add Group |
|
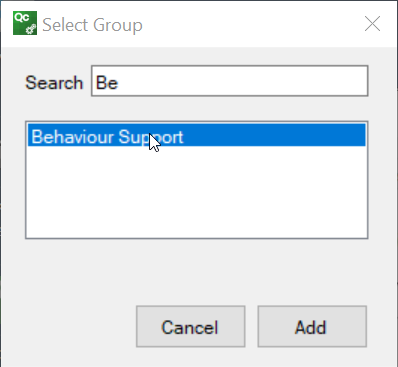
Step 9In this example the behaviour team members will receive the alerts. Type Be in the search box and Behaviour Support should appear in the results box, click on this and click Add |
 |
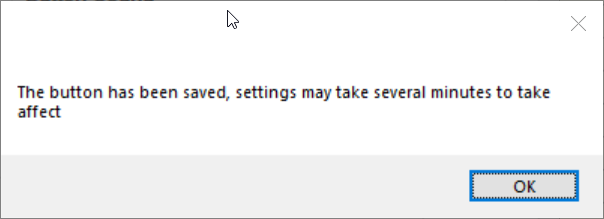
Step 10Click Save and Close. Click Ok |
 |
|
Members of the teachers group will now recieve the new button. When a user is first assigned a button the new QuickCall 4 icon will not appear until their next login |


