To get you started QuickCall 4 installs with several pre-defined user groups.
It is good practice to limit the QuickCall 4 user groups to those that are going to be used in the deployment and remove any that are not.
To remove the unwanted groups follow the instructions here.
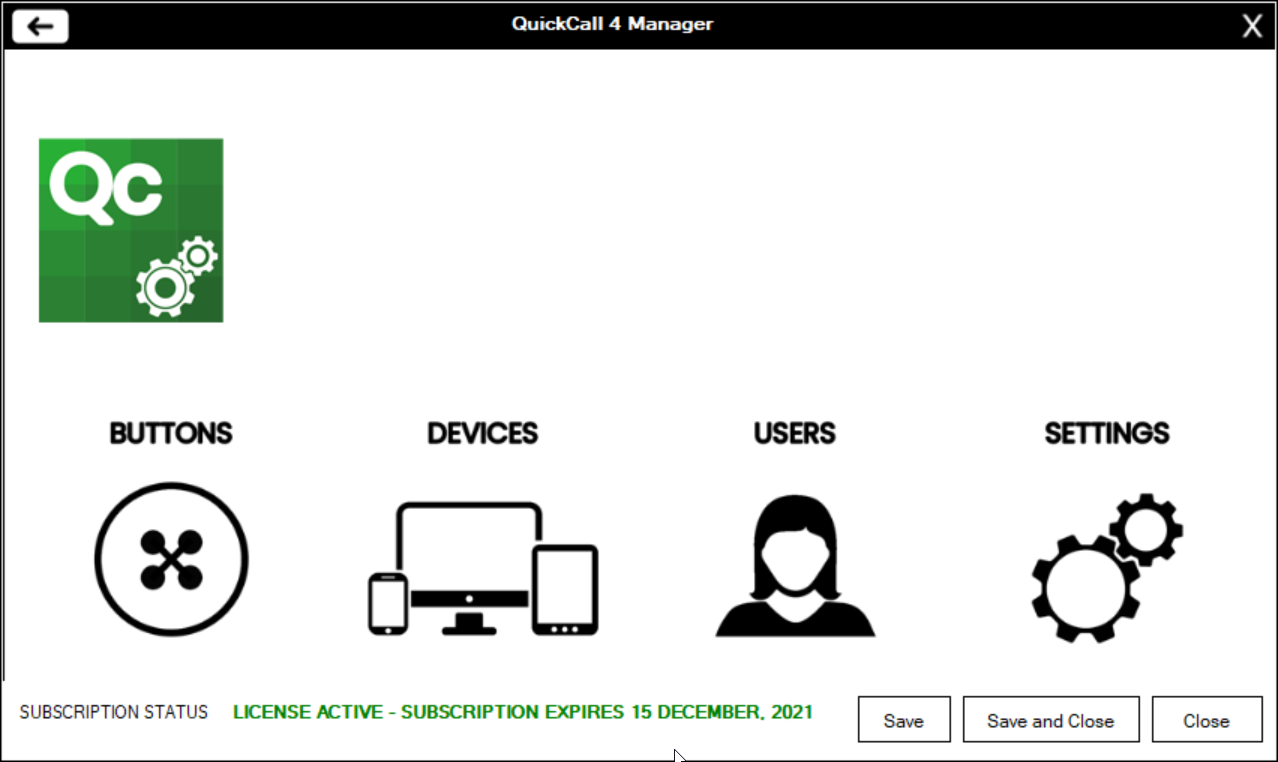
To add user groups in QuickCall 4 start by loading the QuickCall 4 Manager
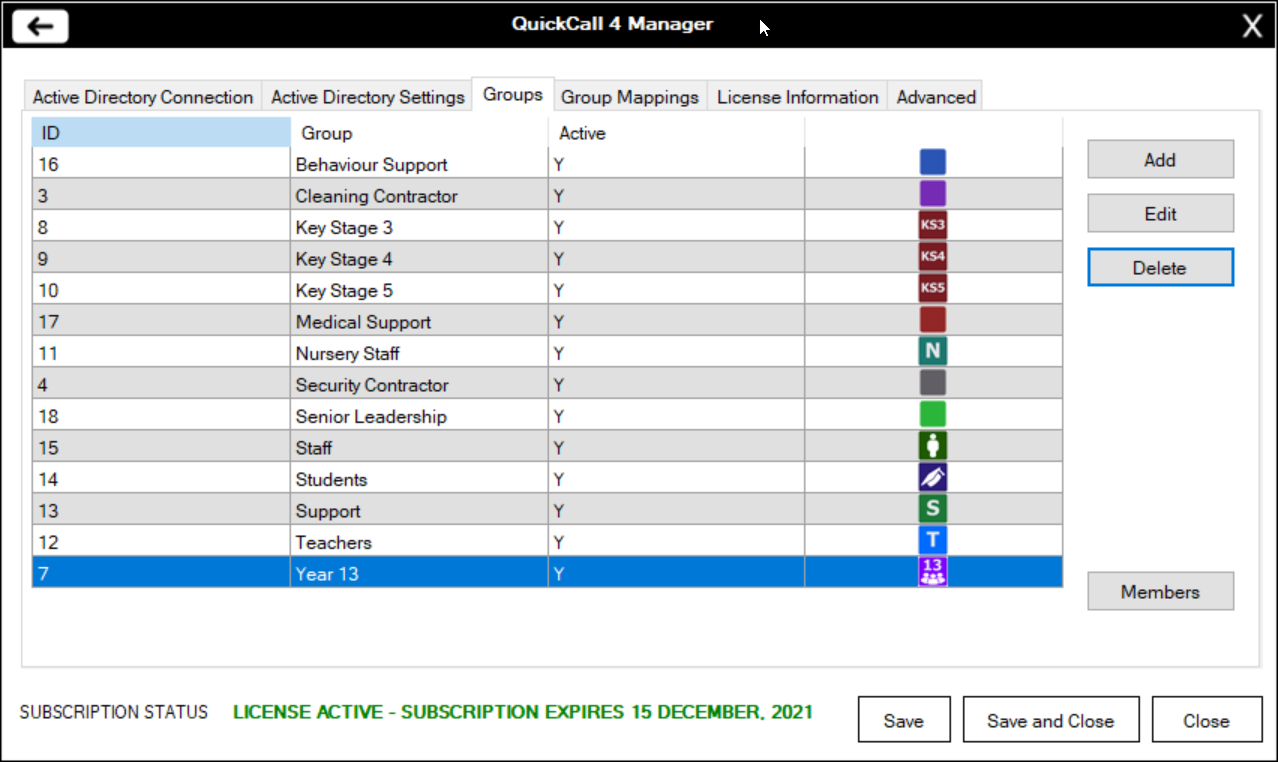
Step 1Log in to the QuickCall 4 Manager and click on the settings icon, and then the Groups tab. |
 |
Step 2Click on the Add button on the right-hand menu
|
 |
Step 3Give the group a name and description. |
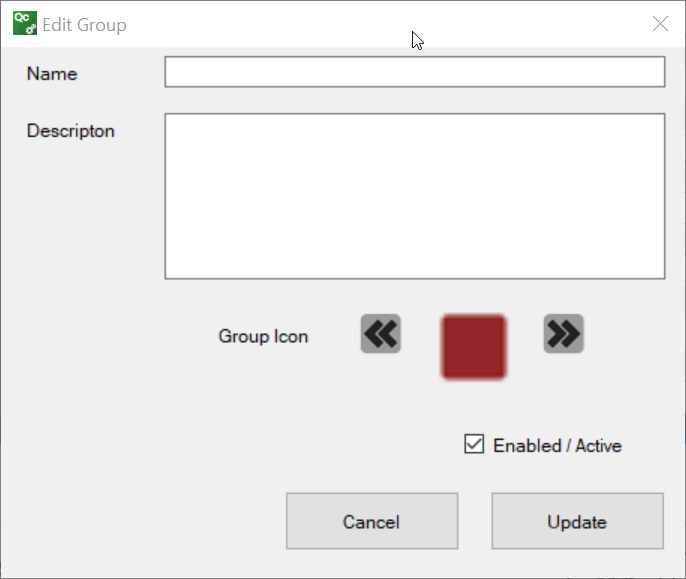 |
Step 4Use the chevrons to select an icon for the group, this makes it easier to identiy in the management console. |
|
Step 5Tick the Enable/Active check box |
|
Step 6Click Update to save the group |
|
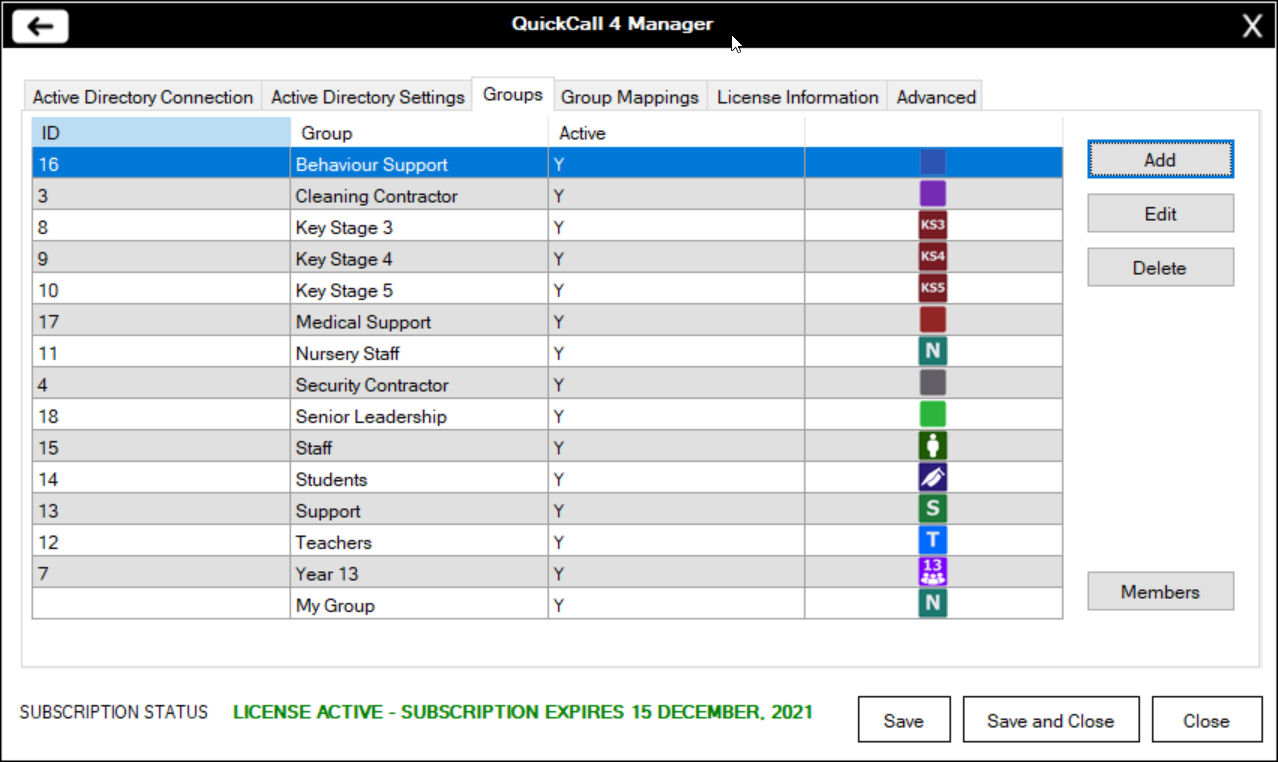
Step 7Click Save on the Management Console. If you don't carry out this step the new group will not be saved. |
 |


